Author: Melissa Dowland
-
Of Bears and Ants
Check out another of my stories from Walks with a Naturalist… and find out how some recent experiences with bears in the park led to an even deeper exploration of the role of thatch ants in the ecosystem! Read more…
Written by

-
Walks with a Naturalist – Volume 3 is out!
My third book is out! The third volume includes thirty more nature stories with photos and illustrations on topics ranging from the white ash tree that was in my yard growing up to finding ant lions in your backyard to snorkeling with colorful fish in mountain streams to seeing wild canids in Yellowstone. If you… Read more…
Written by
-
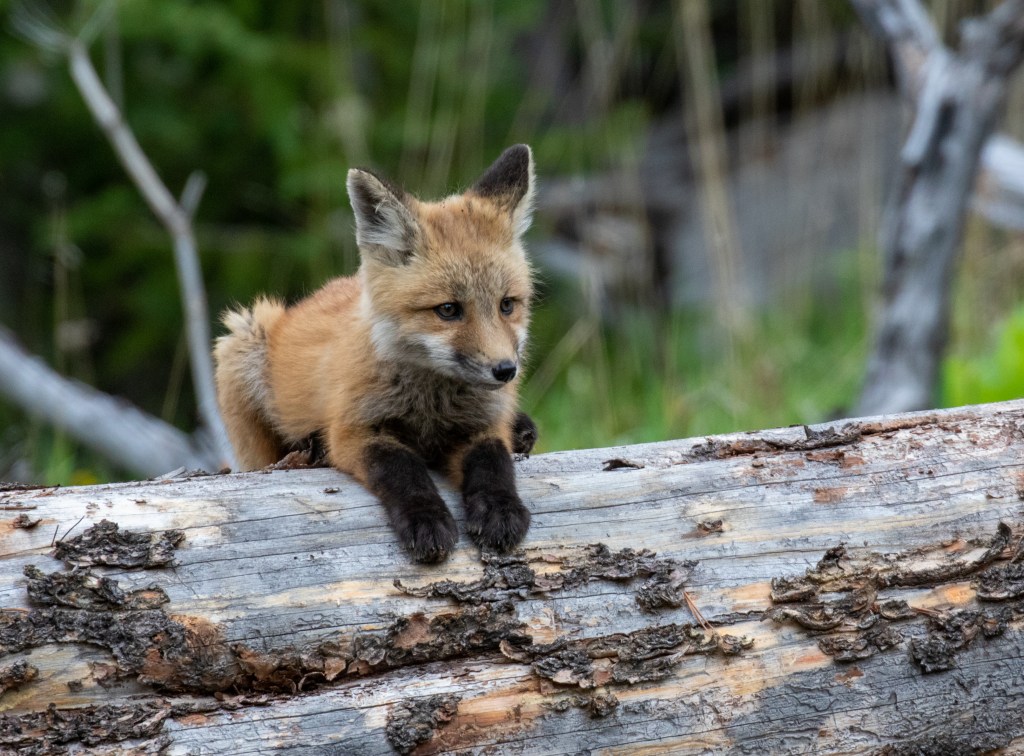
Even More Babies
Apparently, I shared about our spring baby encounters too soon! Over the past few days, we’ve had a number of other adorable baby encounters. Read more…
Written by
-
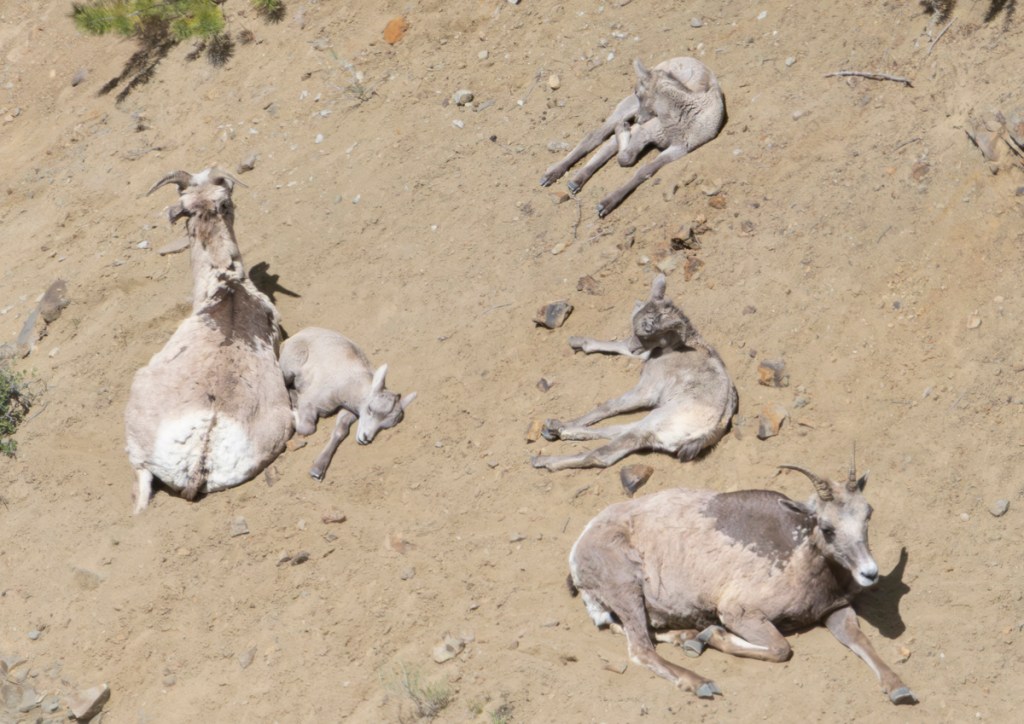
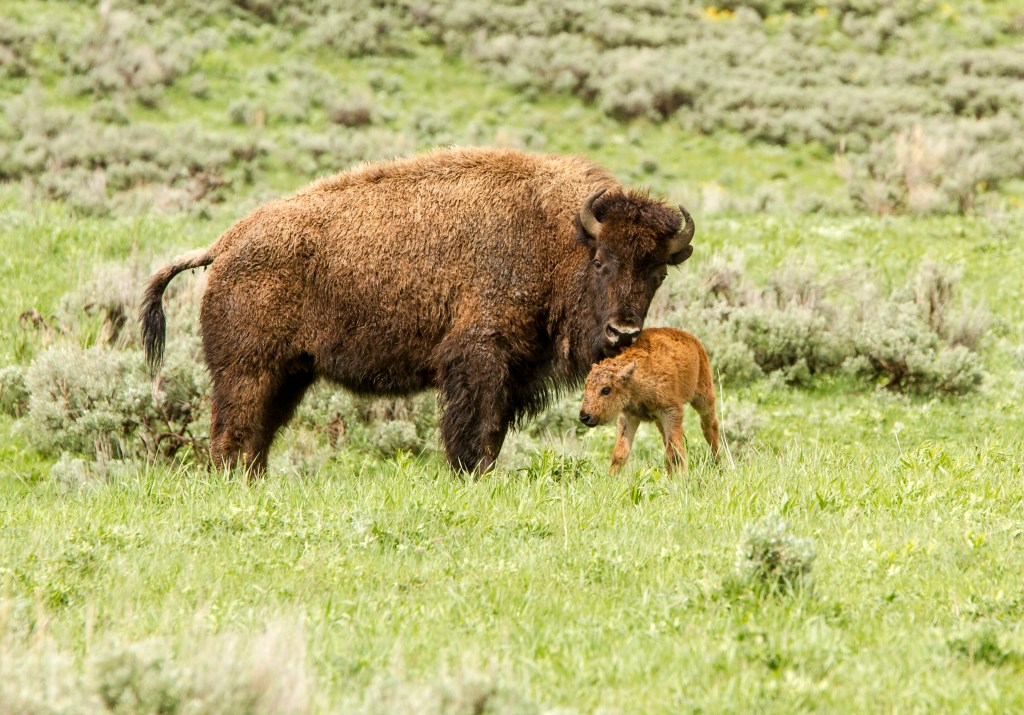
Baby Season
Mike and I had a goal this spring (aka baby season): to witness a bison calf birth. Though we didn’t get that chance, we did witness a few other amazing springtime happenings! Read more…
Written by
-
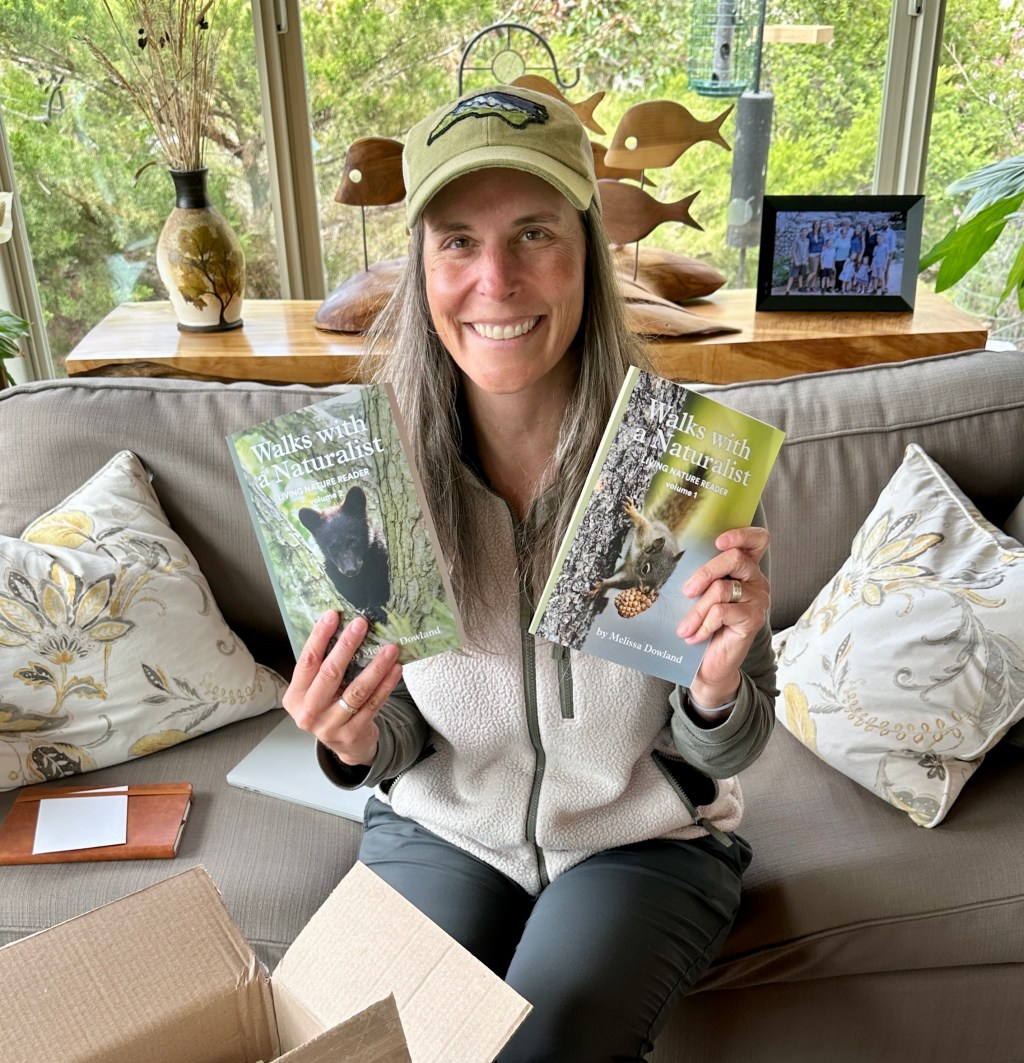
Walks with a Naturalist
My books arrived in the mail today! I can’t quite describe how exciting it feels to hold a book that I have written in my own two hands. Read about how this all came about as well as one of the stories from the first book. Read more…
Written by
-
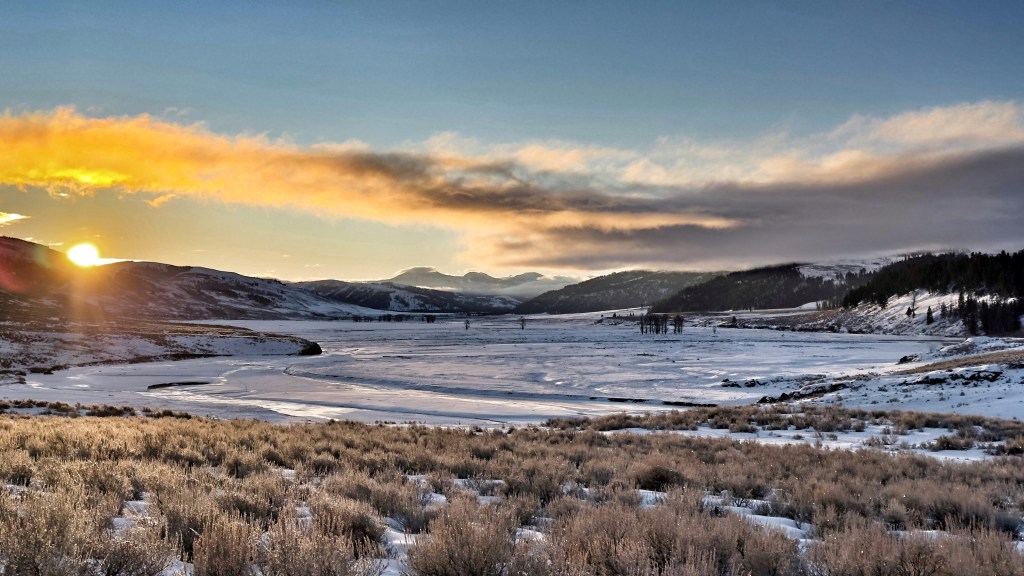
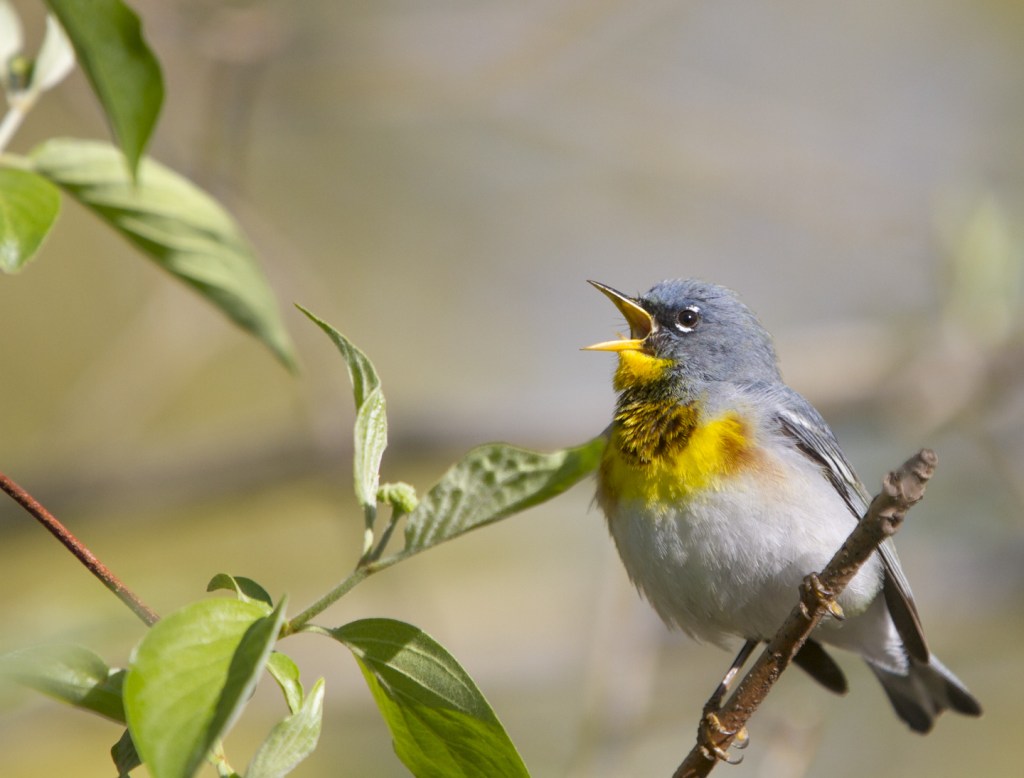
Backpacking Glorians
Mike and I took a short backpacking trip through the Black Canyon of the Yellowstone last week. We encountered beautiful wildflowers, a soundscape of birdsong, a curious badger in the vast landscape of our wild home. Read more…
Written by

-
Two Rivers
Life doesn’t always follow the path we thought it might. This Mother’s Day, I’m reflecting on time with family and recent experiences paddling two very different rivers. Read more…
Written by
-
Old Friends, New Home
Mike and I took a trip to explore our new home state… and met some old friends while we were there. Read more…
Written by
-
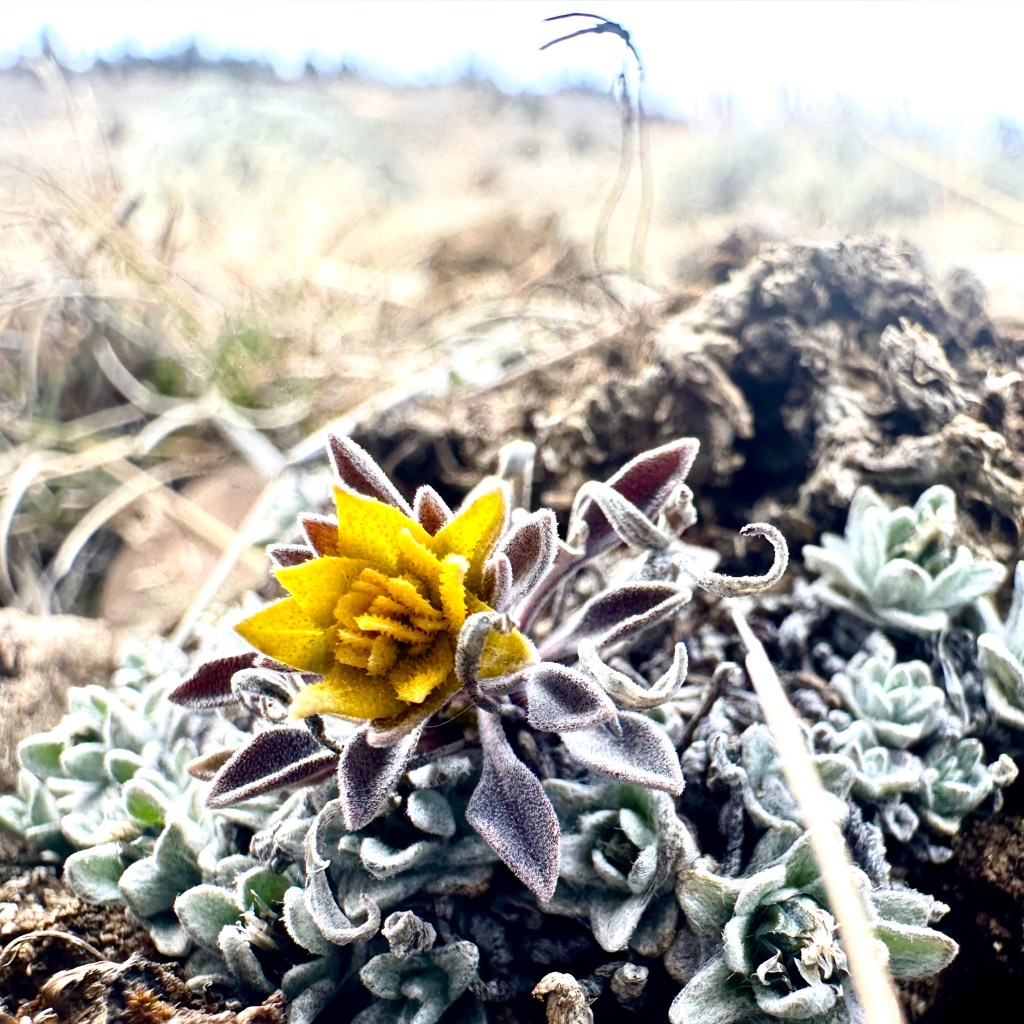
First Flower?
Mike and I saw our first wildflower of the season on a hike this week! Or at least, we thought we did… Read more…
Written by
-
Two Poems for Today
Two poems for today. One, an invitation. The other, an elegy. I hope that through both, our human connection with nature brings you a small moment of peace. Read more…
Written by